
You wrote the draft and on your first read-through, it hits.
But now it’s sitting there like a great idea in sweatpants – unstyled and unfinished.
- No visuals.
- No formatting.
- No sources.
Just vibes 🤦♂️
This post fixes that.
Because turning your draft into real content means doing more than hitting “Publish.”
You need to dress it up, back it up, and light it up.
Let’s break down the tools and workflows that turn good writing into professional content – without wasting hours chasing screenshots, stressing over citations, or styling markdown by hand.

Why This Final Layer Matters
AI can give you structure.
And your editing is what gives it a soul.
But presentation gives it presence.
And presence is what gets:
✅ More scrolls
✅ More shares
✅ More trust
It's the difference between "cool idea" and " damn, this person knows their stuff."
That means visuals that add weight, formatting that guides the eye, and sources that say "I actually did the work."
Let's break it down.
Formatting That Doesn’t Feel Like Homework
You don’t need to be a designer.
But you do need to help the reader breathe easier.
Here’s how to format content so people actually finish reading it:
1. Use a Visual Hierarchy
- Headers every 200-300 words
- Subheadings to split ideas
- Bold to highlight key takeaways
- Bullets for clarity (like this)
Don’t make people find the point.
Put it in their face.
💡 Pro Tip: Use tools that let you write in Markdown to format as you write, like Dillinger or StackEdit.
2. Add Section Breaks
A single wall of text? Feels like a chore.
Break it up with:
- Divider lines
- Pull quotes
- Image embeds
- Short sentences that punch on their own
This isn’t a term paper. It’s a scrollable experience.
💡 Pro Tip: Set a max paragraph length (3-4 lines). If it looks too dense, it is too dense.

Visuals That Actually Add Value
Stock photos? Still life with “business handshake”?
Don’t.
Here’s how to make visuals work:
1. Illustrate the Idea
If the section is abstract – add a visual that grounds it.
- Diagrams
- Infographics
- Screenshots
- Process visuals
Use tools like Figma, Whimsical, or even Tana’s AI diagrams to sketch fast.
Or prompt AI directly:
“Generate an image of a messy first draft transforming into a polished, glowing final article – use a gritty cyberpunk paint style.”
2. Caption with Purpose
Every image should come with context – not decoration.
Bad:
“Editing process.”
Better:
“This is what happens when you don’t trim AI filler – corporate sludge overload.”
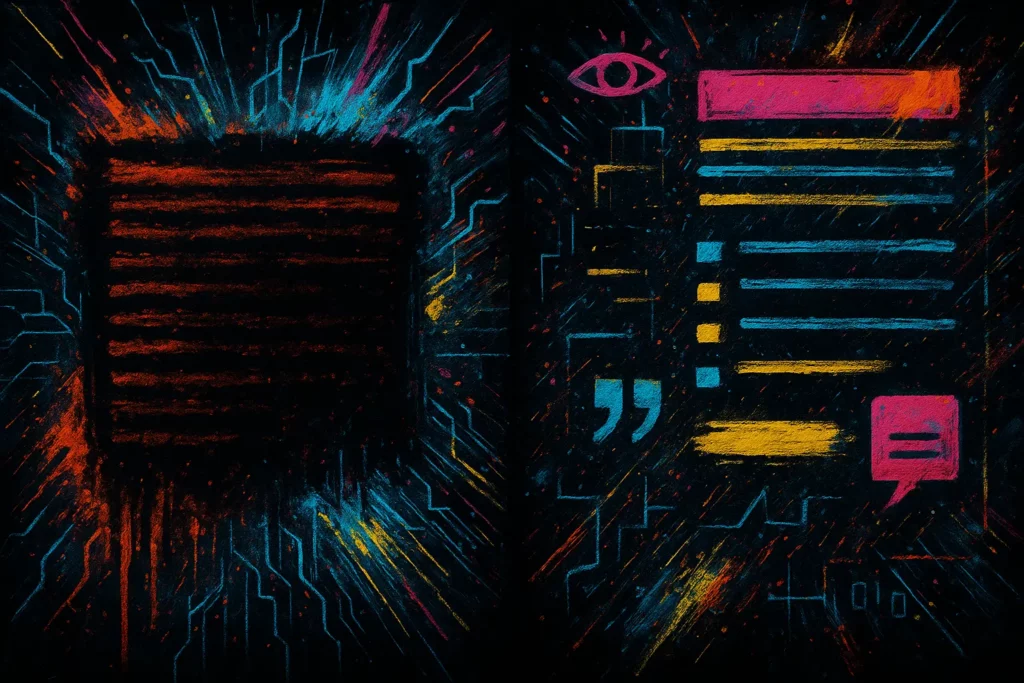
💡 Pro Tip: Use a consistent image style for brand memory. (Like my signature neon/cyberpunk palette.)
3. Compress Like a Pro
You want fast load times. Not a 4MB PNG choking your page speed.
- Squoosh.app or Cloud Convert for manual compression
- ShortPixel or TinyPNG for batch processing
Then serve it modern:
.webpor.avifwhere supported- Use lazy loading (
loading="lazy") for below-the-fold assets

Citations That Build Trust (Without Killing Flow)
Nobody likes a post that feels like a college paper.
But if you’re making claims – back them up.
Here’s how to cite like a pro:
1. Link Inline – Not as Footnotes
Don’t wait until the bottom of the post.
Link sources right when you make the point.
“Studies show 70% of AI-generated content gets trimmed down before publishing” → [link to source]
2. Build a Mini Source Snippet
If you use certain stats or sources often, make a reusable chunk.
Example:
Stat Snippet - Use this after any credibility claim“According to Statista, 2024, X% of [topic]…”
Save it in your snippets app or notes tool.
3. Let AI Hunt Sources (Then Verify)
Use ChatGPT or Claude to find source leads – but never copy them blindly.
“Find a reliable source (published after 2023) that supports the idea that formatting improves reader retention.”
Then you need to actually check the link.
Look for credibility, freshness, and whether it’s actually readable – not a paywalled PDF.
Your Toolbox for the Final Polish
Here’s the kit I use on every piece before it ships:
| Purpose | Tools | Notes |
|---|---|---|
| Formatting Preview | Dillinger | Live markdown view while writing |
| Compression & Format | Cloud Convert | Convert and shrink images for better performance |
| Screenshots & Markup | Cleanshot X | Screenshot + annotate + copy as markdown embed |
| Visuals & Graphics | Photoshop | Create diagrams, UI mockups and branded graphics |
| Source Discovery | ChatGPT | Find ideas, then perform market validation in real time |
Bonus Workflow: The Final Polish Pass
After your draft is edited, do this:
- Scan for visuals – where would a diagram or example help?
- Trim the visual noise – too many bolds? Clean it.
- Add 1 stat or quote – show you did the homework.
- Test the layout – view it like a reader. Scroll. Skim. Click.
- Ship it – but only once it looks as good as it reads.

Mic-Drop Takeaway
AI got you the draft. Your edit dresses it up. This step makes it look good. Because content that looks unfinished? Feels unfinished. And readers won't stick around to "get the point" - they'll bounce. So format it with rhythm, add visuals that do something, and cite like someone who actually cares. The result? Authority, clarity, and momentum. Or in other words: Plan. Prompt. Publish.
This article is part of the Plan. Prompt. Publish. series.