While working on WordPress performance optimization for myself and for my clients, I’ve come across an issue that repeatedly affected CLS scores in a negative way.
Luckily for myself (and now you, too), I created a fix that has helped reduced CLS when rouge images without explicit width and height attributes are the offenders.
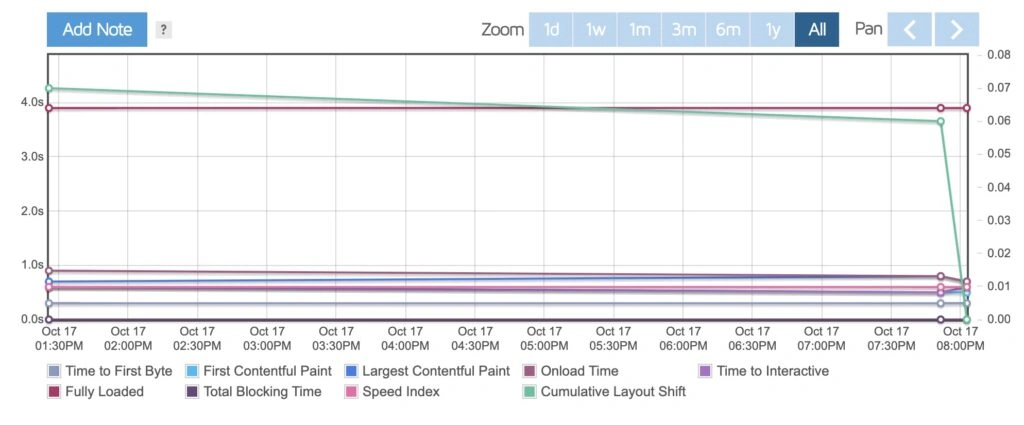
For instance, I applied this fix to a few images on a website recently and took the CLS score from 0.07 to 0.00 🔥
What’s CLS, Anyway?
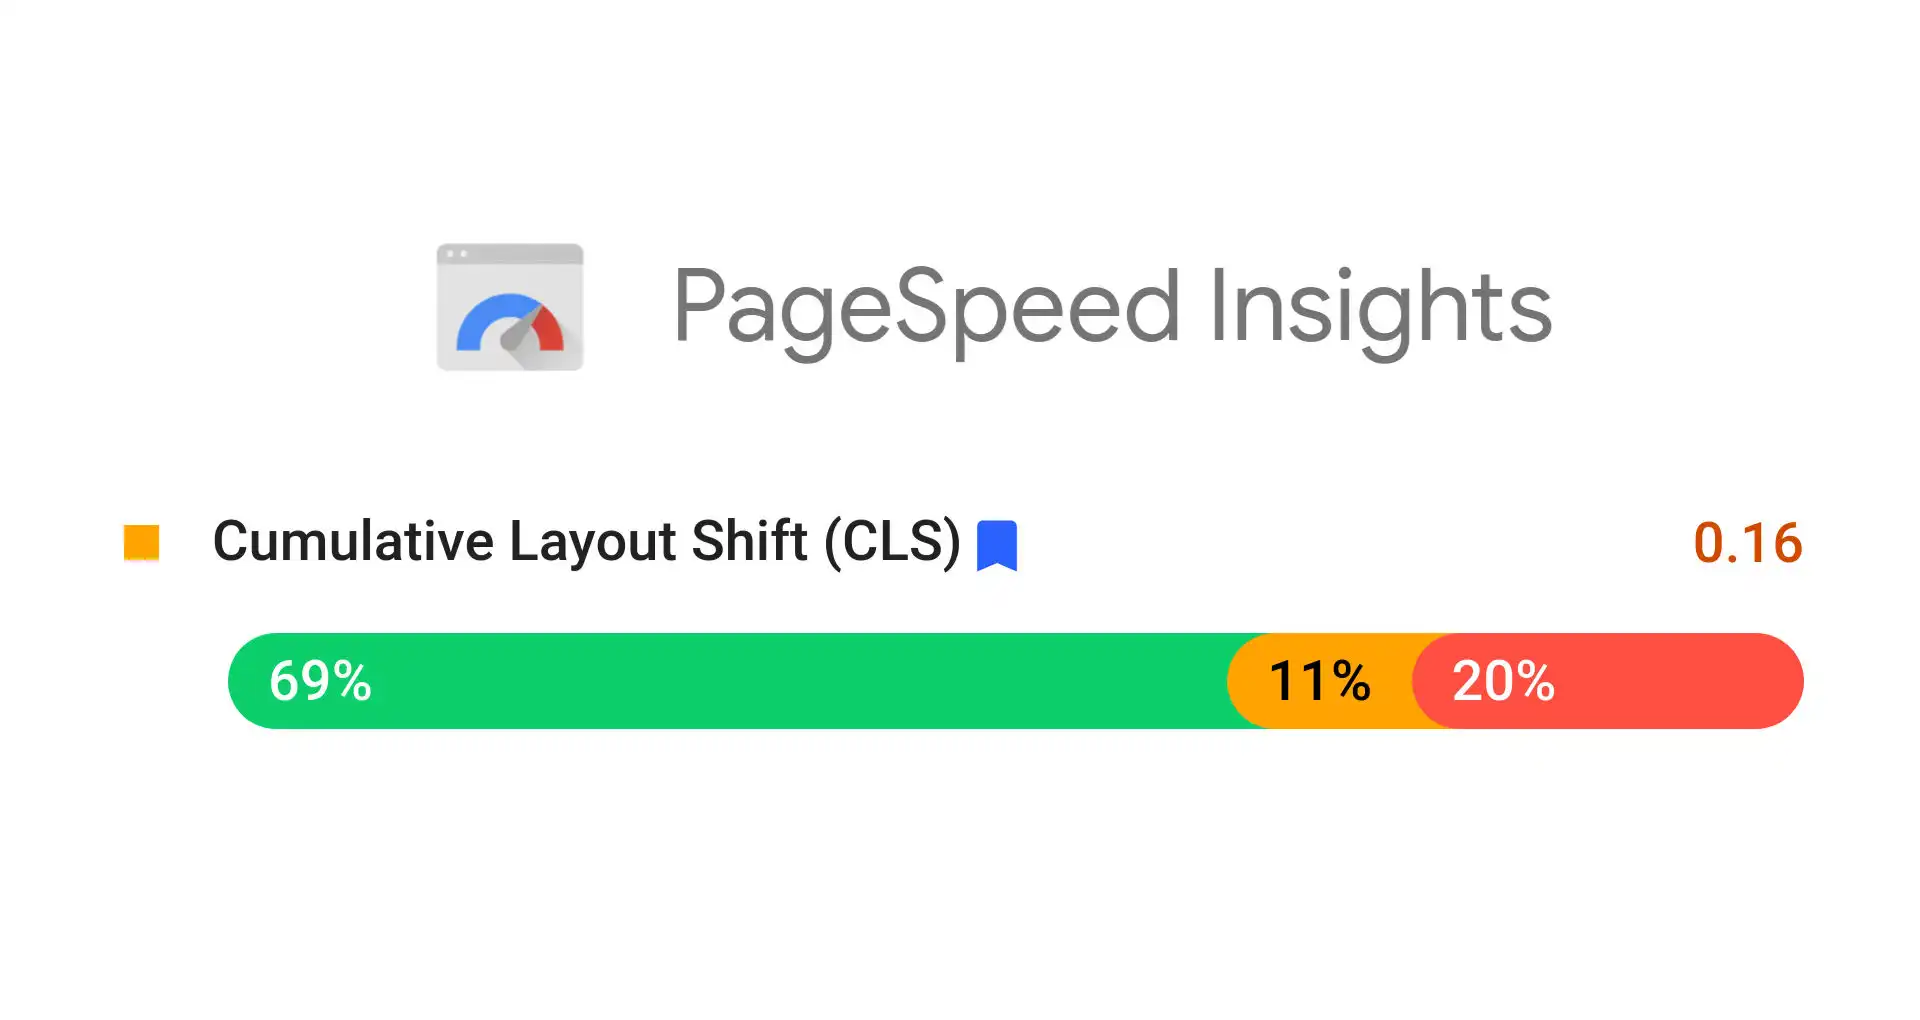
For those who aren’t sure what CLS is, it’s one of Google’s Core Web Vitals metrics, and measures the visual stability of your web page.
CLS, or Cumulative Layout Shift, is a web performance metric that evaluates how much content on a page shifts during loading.
It measures the visual stability of a webpage, and a low CLS score is essential for a great user experience.
A poor CLS score means a frustrating user experience and a less than favorable view in the eyes of Google – which sucks when you’re dependent on search engines for website traffic.
In this article, I’m going to share a way you can improve your WordPress website’s CLS scores by dynamically setting the missing image dimensions programatically.
The issue with your images
You know when you’re editing a WordPress site and come across a theme files with hardcoded <img> tags that only have the src but no width or height attributes?
They look something like this:
<img src=”https://yourwebsite.com/wp-content/uploads/2023/10/media-image-name.webp” alt=”” />
These images are what negatively affect your CLS scores, because there’s not an explict width and height added to the <img> tag.
What this means is that for a flashing moment during page load the image isn’t the correct size, and it causes the layout of the page to shift as the full image loads.
These code snippets will help fix that once and for all 💪

Get media ID by image URL
The first step to making this all work is to take an image URL and retrieve the media ID from WordPress.
Since we need the media ID to get the width and height attributes, we’ll need to make sure the URL of the media is actually in the media library first.
Example URL:
https://yourwebsite.com/wp-content/uploads/2023/10/media-file-name.webp
The function that I’ve created for this will take the URL as an arg and performs and SQL query to find the media ID for the URL.
You can add this code to your theme functions.php file or in a custom plugin you’re building.
Get width and height by image ID
Now that we’ve got the media ID for our image, we can use that to get the width and height attributes that are stored in the WordPress database.
We’re going to use wp_get_attachment_image_src to pull in the media data, and then extract the width and height into a usable array.
You can also add this code to your theme functions.php file or in a custom plugin you’re building.
Get the explicit width and height for HTML output
Once we’ve got the width and height for our image, we’ve got to take it and output the width="" height="" attributes to use within our <img> tags.
We can do that with the following function which uses the above two functions to pass the image URL through and output the width and height into a string that’s usable in your HTML.
And just like the other snippets, you will add this code to your theme functions.php file or in a custom plugin you’re building.
This function is the one you’ll be using throughout your project.
Bringing it all together
So we’ve got the media ID from the image URL, then we grab the width/height for the image from the media ID and output it into a string for HTML usage.
But what do we actually need to do with it?

Original image code
<img src=”<?php echo get_theme_mod( ‘logo’ ); ?>” alt=”<?php bloginfo( ‘name’ ); ?>” />
Updated image code
<img src=”<?php echo get_theme_mod( ‘logo’ ); ?>” <?php echo get_explicit_image_sizes( get_theme_mod( ‘logo’ ) ); ?> alt=”<?php bloginfo( ‘name’ ); ?>” />
And here’s how the img HTML actually gets output into the page source:
<img src=”https://mywebsite.com/wp-content/uploads/2023/10/logo.webp” width=”600″ height=”120″ alt=”Blog name” />
See, I told you … simple 😎
What do you think?
Were you aware of a method like this for adding the missing image width and height attributes in WordPress?
Or do you know of a different way to accomplish this that’s more performance friendly?
Maybe this is new to you and you’re about to go try it out on a website right now?
Feel free to leave a comment, tweet me about it, send an email or shout from the rooftops 🤘